I’ve received a Pet’s Choice Award for my dog cartoons!
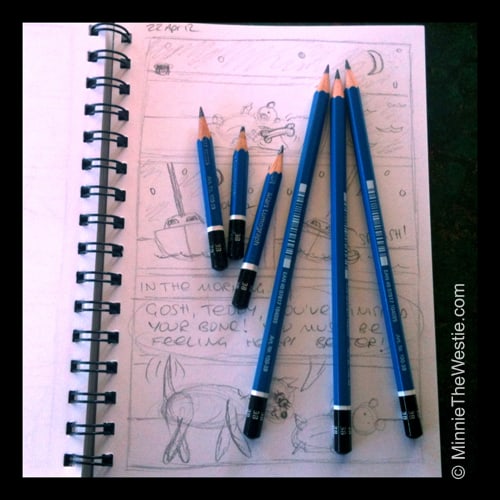
![]() OMD, I got a very exciting email this week: my mum (and personal cartoonist) Cornelia Luethi has received a Pet’s Choice Award for her dog cartoons of me, Minnie The Westie! The MinnieMania is spreading across the world! *does zoomies with excitement*
OMD, I got a very exciting email this week: my mum (and personal cartoonist) Cornelia Luethi has received a Pet’s Choice Award for her dog cartoons of me, Minnie The Westie! The MinnieMania is spreading across the world! *does zoomies with excitement*
The announcement was made here, in this article on ‘100 Years of Amazingly Talented Pet Cartoonists‘.
Yes, mum blushed rather a lot at that!
She was very flattered indeed for her dog cartoons to be mentioned in an article alongside Jim Davis, creator of Garfield. (Garfield was her hero when she was a young girl… yeah, I know he’s a cat, but he’s a very cool cat.) Also Charles Schulz, creator of Snoopy, the most famous cartoon dog (to date!). 😉
Thank you very much to Healthy Paws for the recognition – you are pawsome!
Wags ‘n’ big sloppy nose licks,

To link to this post, use: https://www.minniethewestie.com/pets-choice-award-for-dog-cartoons
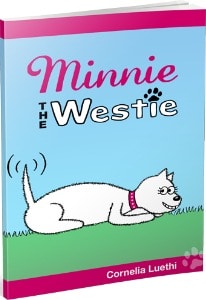
Do you enjoy Minnie the Westie cartoons?
Treat yourself (or a loved one) to a book full of smiles!
Go on, buy someone a smile today! 🙂